
Consul 概述
Consul 是一个可以提供服务发现,健康检查,多数据中心,key/Value 存储的分布式服务框架,用于实现分布式系统的发现与配置。Cousul 使用 Go 语言实现,因此天然具有可移植性,安装包仅包含一个可执行文件,直接启动即可运行,方便部署
Consul 安装与启动
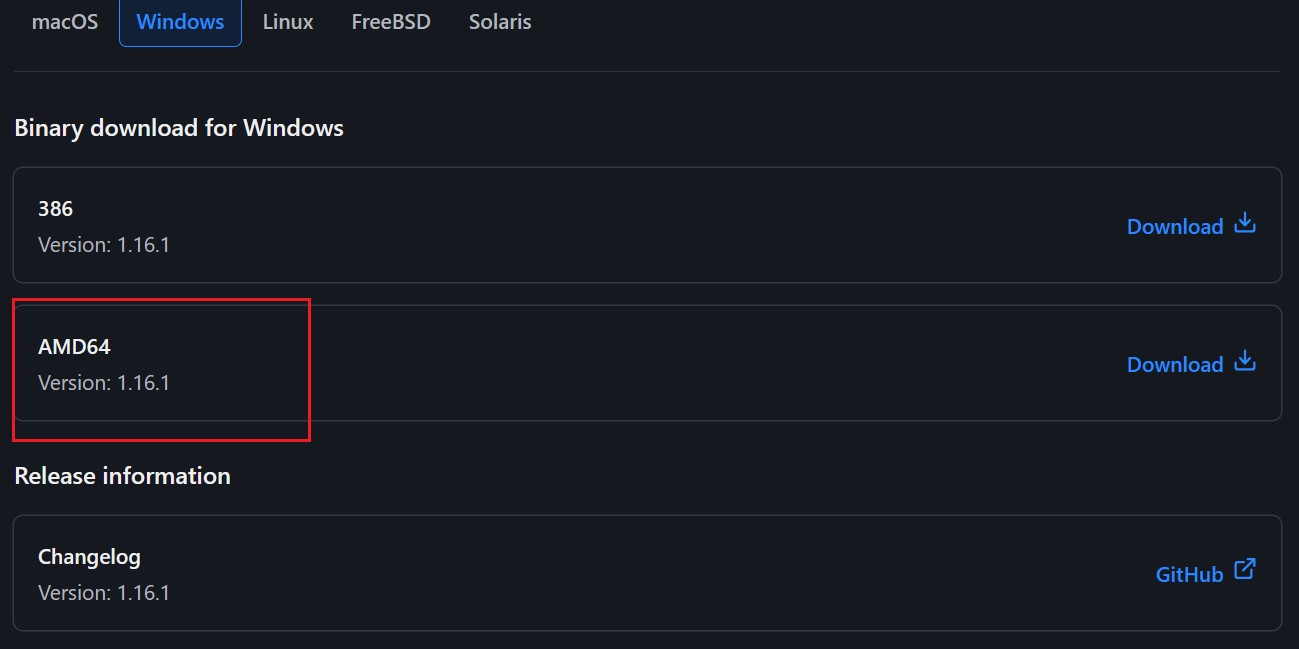
以 windows 为例,在官网下载 Consul:https://www.consul.io/
下载之后解压缩,进入目录运行 consul.exe 即可:.consul.exe agent -dev
Consul 启动完成后,在浏览器中访问 http://ocalhost:8500/ 便可以看到 Consul 首页
Consul 服务注册与发现
创建 cousul-service 项目,引入依赖,其中 Spring Boot Actuator 是健康检查需要依赖的包,本项目基于 SpringBoot 2.3.1,SpringCloud Hoxton.SR12
<dependencies>
    <dependency>
        <groupId>org.springframework.boot</groupId>
        <artifactId>spring-boot-starter-actuator</artifactId>
    </dependency>
    <dependency>
        <groupId>org.springframework.boot</groupId>
        <artifactId>spring-boot-starter-web</artifactId>
    </dependency>
    <dependency>
        <groupId>org.springframework.cloud</groupId>
        <artifactId>spring-cloud-starter-consul-discovery</artifactId>
    </dependency>
</dependencies>
在 application.yml 配置文件中添加如下配置:
server:
  port: 8080

spring:
  application:
    name: consul-service
  cloud:
    consul:
      host: localhost
      port: 8500
      discovery:
        instance-id: ${spring.application.name}:${server.port}
在启动类上添加注解 @EnableDiscoveryClient
@EnableDiscoveryClient
@SpringBootApplication
public class ConsulProducerApplication {

    public static void main(String[] args) {
        SpringApplication.run(ConsulProducerApplication.class, args);
    }
}
启动项目,查看 Consul Web 页面,即可看到服务注册成功
Consul 配置中心
参考上一节内容创建 cousul-config 项目,引入依赖
<dependencies>
    <dependency>
        <groupId>org.springframework.boot</groupId>
        <artifactId>spring-boot-starter-actuator</artifactId>
    </dependency>
    <dependency>
        <groupId>org.springframework.boot</groupId>
        <artifactId>spring-boot-starter-web</artifactId>
    </dependency>
    <dependency>
        <groupId>org.springframework.cloud</groupId>
        <artifactId>spring-cloud-starter-consul-config</artifactId>
    </dependency>
    <dependency>
        <groupId>org.springframework.cloud</groupId>
        <artifactId>spring-cloud-starter-consul-discovery</artifactId>
    </dependency>
</dependencies>
在 bootstrap.yml 配置文件(注意必须使用 bootstrap)中添加如下配置:
server:
  port: 8080

spring:
  application:
    name: consul-service
  # profiles:
    # active: dev # 指定环境,默认加载 default 环境
  cloud:
    consul:
      host: localhost
      port: 8500
      discovery:
        instance-id: ${spring.application.name}:${server.port}
      config:
        enabled: true # false禁用Consul配置,默认为true
        format: yaml  # 表示consul上面文件的格式,有四种:YAML、PROPERTIES、KEY-VALUE、FILES
        prefix: config  # 可以理解为配置文件所在的最外层目录
        default-context: consul-service # 设置应用的文件夹名称
        data-key: consul-service-config # Consul的Key/Values中的Key,Value对应整个配置文件
        # 以上配置可以理解为:加载config/consul-service/文件夹下Key为consul-service-config的Value对应的配置信息
        # 配置环境分隔符,默认值 "," 和 default-context 配置项搭配
        # 例如应用 consul-service 分别有环境 default、dev、test、prod
        # 只需在 config 文件夹下创建 consul-service、consul-service-dev、consul-service-test、consul-service-prod 文件夹即可
        # profile-separator: '-'
        watch:
          enabled: true # 是否开启自动刷新,默认值true开启
          delay: 1000 # 刷新频率,单位毫秒,默认值1000
在启动类上添加注解 @EnableDiscoveryClient
@SpringBootApplication
@EnableDiscoveryClient
// 启用配置属性类,当SpringBoot程序启动时会立即加载@EnableConfigurationProperties注解中指定的类对象
@EnableConfigurationProperties({MySqlComplexConfig.class})
public class ConsulConfigApplication {

    public static void main(String[] args) {
        SpringApplication.run(ConsulConfigApplication.class, args);
    }
}
定义 MysqlConfig 配置类
@Component
@ConfigurationProperties(prefix = "mysql")
public class MysqlConfig {

    private String host;
    private String username;
    private String password;

    public String getHost() {
        return host;
    }

    public void setHost(String host) {
        this.host = host;
    }

    public String getUsername() {
        return username;
    }

    public void setUsername(String username) {
        this.username = username;
    }

    public String getPassword() {
        return password;
    }

    public void setPassword(String password) {
        this.password = password;
    }
}
开发 ConfigController
@RefreshScope // 用于重新刷新作用域实现属性值自动刷新
@RestController
public class ConfigController {

    @Autowired
    private MysqlConfig mysqlConfig;

    @GetMapping("getConfig")
    public Map<String, String> getMysqlConfig() {
        HashMap<String, String> map = new HashMap<>();
        map.put("host", mysqlConfig.getHost());
        map.put("username", mysqlConfig.getUsername());
        map.put("password", mysqlConfig.getPassword());
        return map;
    }
}
在 Consul 管理界面添加配置信息,点击左侧菜单的 Key/Value,按照 bootstrap.yml 中的配置创建 config/consul-service 目录,在 consul-service 目录下创建 key:consul-service-config,在 value 添加配置信息

请求 http://localhost:8080/getConfig,可以看到服务会从 Consul 中获取配置,并返回
文章来源: 博客园
- 还没有人评论,欢迎说说您的想法!


 客服
客服


