
进官网下载zip安装包
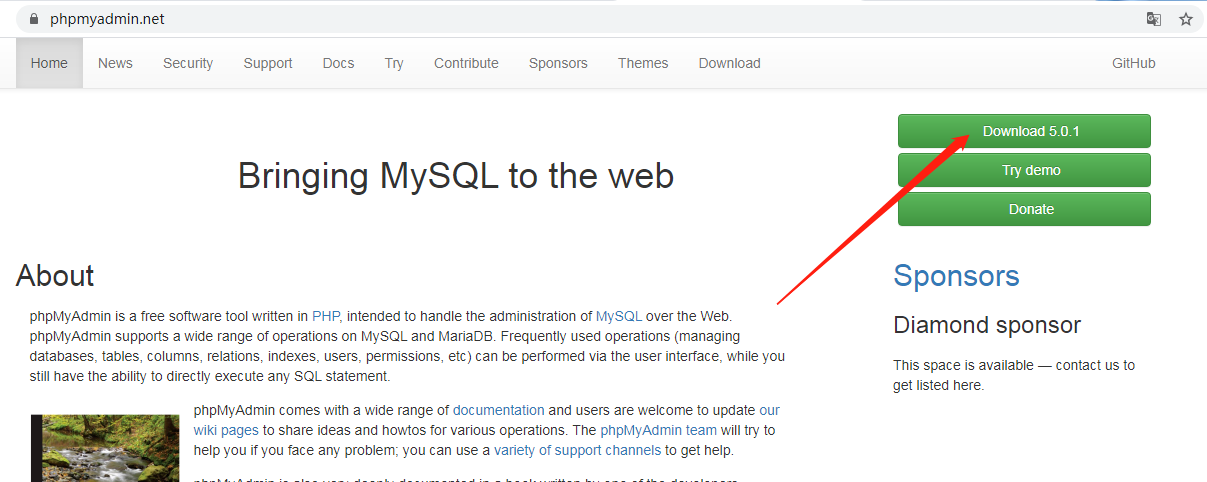
wget https://files.phpmyadmin.net/phpMyAdmin/5.0.1/phpMyAdmin-5.0.1-all-languages.zip
安装解压工具
yum install unzip –y
解压安装包
unzip unzip phpMyAdmin-5.0.1-all-languages.zip
把解压好的文件移动到/www/phpMyAdmin下面
mv phpMyAdmin-5.0.1-all-languages/* /www/phpMyAdmin/
cd /www/phpMyAdmin
复制重命名一份配置文件
cp config.sample.inc.php config.php
进入/etc/nginx/conf.d
创建一个配置文件phpMyAdmin.conf
添加以下代码
server {
      listen       880;
      server_name  localhost;
  root /www/phpMyAdmin;
      location / {
          index  index.php index.html index.htm;
      }
      error_page   500 502 503 504  /50x.html;
      location = /50x.html {
          root   html;
      }
      location ~ .php$ {
          fastcgi_pass   127.0.0.1:9000;
          fastcgi_index  index.php;
          fastcgi_param  SCRIPT_FILENAME  /scripts$fastcgi_script_name;
          include        fastcgi.conf;
      }
}
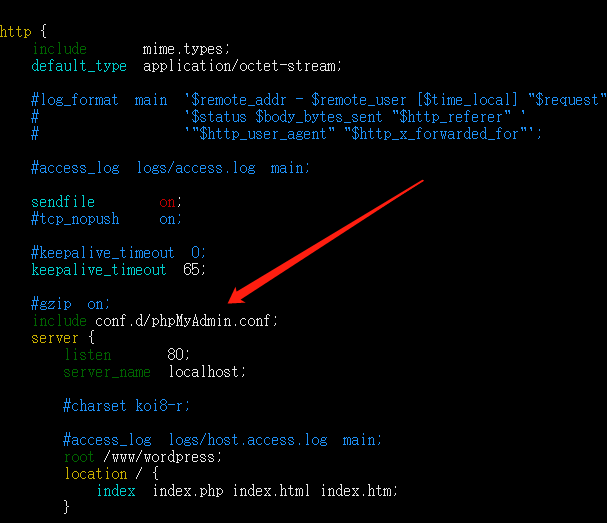
在/etc/nginx/nginx.conf中引入配置文件
(include conf.d/phpMyAdmin.conf;)
在服务器中打开安全组端口,浏览器中输入相应的ip:880进入登录页面、
cd /www/phpMyAdmin/
cp libraries/config.default.php config.inc.php
vim config.inc.php
端口号改为3306
$cfg['Servers'][$i]['port'] = '3306';
修改root密码:
$cfg['Servers'][$i]['password'] = '******';
修改为本地地址
$cfg['Servers'][$i]['host'] = '127.0.0.1';
重启php服务器
systemctl restart php-fpm
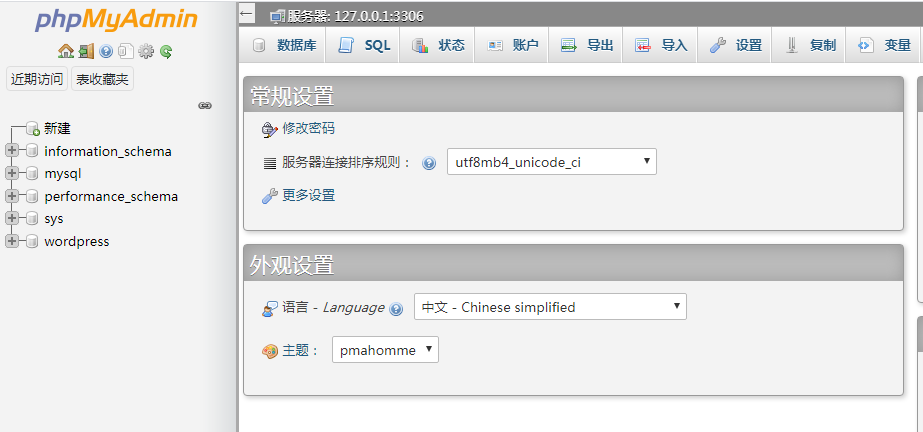
然后就能访问PHPmyadmin数据库了
文章来源: 博客园
- 还没有人评论,欢迎说说您的想法!


 客服
客服


