
记录一下 Macbook 本地折腾 Wordpress 的完整过程
第一步 安装 MySQL
详见上一篇笔记 MacOS 安装 MySQL 与配置环境变量
第二步 新建数据库、用户、分配权限
mysql> create database 数据库名;
//注意SQL命令结尾要带分号

mysql> SELECT md5('你打算设置的密码');
// MD5函数接受一个参数,该参数是要加密的字符串
// 用 MD5函数的返回值作为密码

mysql> CREATE USER '用户名' IDENTIFIED WITH mysql_native_password BY '密码';

mysql> GRANT CREATE,SELECT, INSERT, UPDATE,DELETE ON 数据库名.* TO '用户名'@'localhost';
// 数据库名.* 表示数据库里的所有数据表
注意上面用了 IDENTIFIED WITH mysql_native_password BY
是为了避免报错“The server requested authentication method unknown to the client”
原因:从Mysql5 到Mysql8启用了新的加密方法。
详见 【Linux】php连接mysql8报错:The server requested authentication method unknown to the client
查看当前用户(自己)权限:
show grants;
查看其他 MySQL 用户权限:
show grants for xxx@localhost;
第三步 Apache配置
sudo vi /etc/apache2/httpd.conf

搜索DocumentRoot(操作按ESC + shift + :+ /DocumentRoot)

修改为如下内容即可
# DocumentRoot: The directory out of which you will serve your
# documents. By default, all requests are taken from this directory, but
# symbolic links and aliases may be used to point to other locations.
DocumentRoot "/usr/local/www/"
<Directory "/usr/local/www/">

为什么把Apache的网站根目录放在/usr/local/www/这里?
答:不需要修改权限,不需要折腾。

下方的内容取消注释
#LoadModule php5_module libexec/apache2/libphp7.so
第四步 安装 Wordpress
-
从 WordPress的官网下载安装包
-
解压到 /usr/local/www/ 文件夹
-
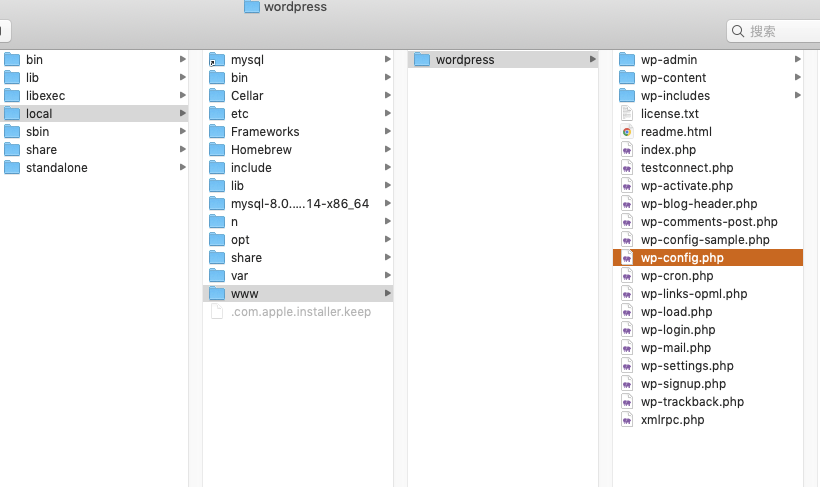
复制 /wordpress 里的 wp-config-example.conf 并重命名为 wp-config.conf
- 修改 wp-config.conf
// ** Database settings - You can get this info from your web host ** //
/** The name of the database for WordPress */
define( 'DB_NAME', '数据库名' );

/** Database username */
define( 'DB_USER', '用户名' );

/** Database password */
define( 'DB_PASSWORD', '密码' );

/** Database hostname */
// define( 'DB_HOST', 'localhost' );
define( 'DB_HOST', '127.0.0.1' );

/** Database charset to use in creating database tables. */
define( 'DB_CHARSET', 'utf8' );

/** The database collate type. Don't change this if in doubt. */
define( 'DB_COLLATE', '' );

/**
 * 开发者专用:WordPress调试模式。
 *
 * 将这个值改为true,WordPress将显示所有用于开发的提示。
 * 强烈建议插件开发者在开发环境中启用WP_DEBUG。
 *
 * 要获取其他能用于调试的信息,请访问Codex。
 *
 * @link https://codex.wordpress.org/Debugging_in_WordPress
 */
define( 'WP_DEBUG', true );

/**
 * zh_CN本地化设置:启用ICP备案号显示
 *
 * 可在设置→常规中修改。
 * 如需禁用,请移除或注释掉本行。
 */
define('WP_ZH_CN_ICP_NUM', true);
第五步 运行
启动Apache:sudo apachectl start
重启Apache:sudo apachectl restart
停止Apache:sudo apachectl stop
浏览器中输入:http://localhost/wordpress/wp-admin/ 即可访问
至此,可以愉快地玩耍了
内容来源于网络如有侵权请私信删除
文章来源: 博客园
- 还没有人评论,欢迎说说您的想法!
 客服
客服


