
This blog introduces how to do SLAM related development natively on M1(Apple silicon) macbook. Most people come from Ubuntu environment will choose the easy but heavy path of installing a virtual Ubuntu machine and do the rest like before. I want to try to do it natively and share my experience with all the SLAM engineers out there who can't resist the new Macbook but worry about it can't be used for their daily work.
Conclusion comes first: It's rather straightforwad and the source code building speedup is really awesome.
With Clion and package management tool Homebrew, the whole process is not that much different from the Ubuntu environment.
Install Clion
The reason I recommand Clion is that it automatically takes care of the c++ toolchain part for you.
Clion's website provides the Apple silicon's version of download.
Install homebrew
Method 1
Guide from homebrew official website
https://docs.brew.sh/Installation
If you encounter this problem
curl: (7) Failed to connect to raw.githubusercontent.com port 443: Connection refused
then use method 2.
Method 2
Just manually download the install scripts from homebrew's github repo
https://github.com/Homebrew/install
and run the ./install.sh and ./uninstall.sh as you need.
You can also modify the HOMEBREW_BREW_DEFAULT_GIT_REMOTE and HOMEBREW_CORE_DEFAULT_GIT_REMOTE variables in the install.sh to use ssh urls instead of the https urls if you prefer.
Install pangolin
Pangolin is not in homebrew, so we have to build and install it from source.
- Install dependecies using homebrew
brew install eigen
brew install glew
-
Fetch pangolin and compiles
Because of some deprecation things related to opengl, the head of master branch from Pangolin's git repo can compile and run with itself, but causes error when it's used as dependency for certain SLAM algorithms. I forked the original repo and fixed some bugs here.
https://github.com/ZhaoqunZhong/Pangolin -
Pay attention that the default CMAKE_INSTALL_PREFIX is still /usr/local/ like in Ubuntu. ('brew install' installs things to /opt/homebrew/, and cmake will include it into its search path. )
So, if your project complains about can't find pangolin, you can just add /usr/local/~ to the include and library dirs manually.
Install OpenCV
Method 1
brew install opencv
Method 2
Build and install from source.
I used version 4.5.5. After earlier steps, it compiles out of the box.
By the way, I remember it takes at least 10min to build OpenCV from source on an Ubuntu machine with Intel i7 32g ram. But my M1pro Macbook takes about 3min13s. Shocking!
Install ceres-solver
Method 1
brew install ceres-solver
Method 2
Build and install from source.
- Install dependecies
brew install gflags
brew install glog
- Build ceres-solver
It will automatically detect and use Apple's accelarate framework as the backend sparse solver.
-- Found Apple's Accelerate framework with sparse solvers, building with Accelerate sparse support.
Install PCL
brew install pcl
I'm tired of trying to build from source any more for two reasons:
- I guess they can all work based on the OpenCV and ceres-solver results.
- Homebrew takes care of all the dependencies for you if you are missing packages for your current installed package. It's so convenient. I recommand using it whenever possible.
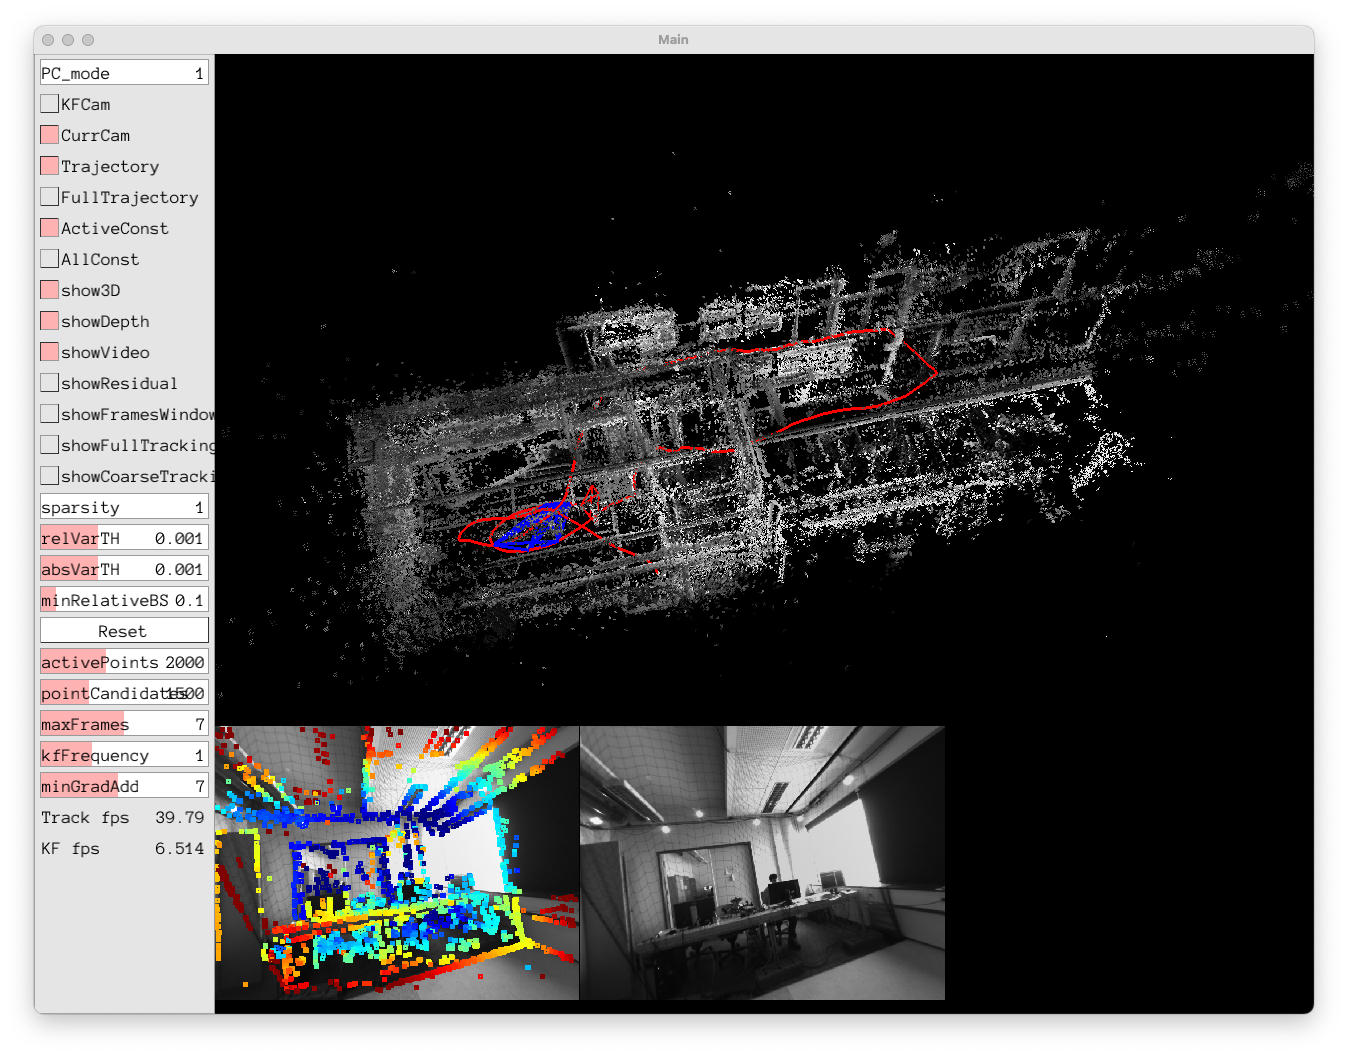
Test a SLAM algorithm
Here I chose TUM's DSO algorithm. To make it work on M1 macbook, I also had to make some adjustments to the original head of master branch. I put the final workable version here.
https://github.com/ZhaoqunZhong/dso
Result
Good luck!
文章来源: 博客园
- 还没有人评论,欢迎说说您的想法!
 客服
客服


