
笔者计划为大家介绍分布式文件系统,用于存储应用的图片、word、excel、pdf等文件。在开始介绍分布式文件系统之前,为大家介绍一下使用本机存储来存放文件资源。
二者的核心实现过程是一样的:
- 上传文件,保存文件(本节是本地磁盘)
- 返回文件HTTP访问服务路径给前端,进行上传之后的效果展示
一、复习
服务端接收上传的目的是提供文件的访问服务,那么对于SpringBoot而言,有哪些可以提供文件访问的静态资源目录呢?
classpath:/META-INF/resources/,classpath:/static/,classpath:/public/,classpath:/resources/
这是之前我们为大家介绍的内容,从这里看出这里的静态资源都在classpath下。那么就出现问题:
- 应用的文件资源不能和项目代码分开存储(你见过往github上传代码,还附带项目文件数据的么?)
- 项目打包困难,当上传的文件越来越多,项目的打包jar越来越大。
- 代码与文件数据不能分开存储,就意味着文件数据的备份将变得复杂
二、文件上传目录自定义配置
怎么解决上述问题?别忘记了spring boot 为我们提供了使用spring.resources.static-locations配置自定义静态文件的位置。
web:
  upload-path: D:/data/

spring:
  resources:
    static-locations: classpath:/META-INF/resources/,classpath:/resources/,classpath:/static/,classpath:/public/,file:${web.upload-path}
- 配置
web.upload-path为与项目代码分离的静态资源路径,即:文件上传保存根路径 - 配置
spring.resources.static-locations,除了带上Spring Boot默认的静态资源路径之外,加上file:${web.upload-path}指向外部的文件资源上传路径。该路径下的静态资源可以直接对外提供HTTP访问服务。
三、文件上传的Controller实现
详情看代码注释
@RestController
public class FileUploadController {

    //绑定文件上传路径到uploadPath
    @Value("${web.upload-path}")
    private String uploadPath;

    SimpleDateFormat sdf = new SimpleDateFormat("yyyy/MM/dd/");

    @PostMapping("/upload")
    public String upload(MultipartFile uploadFile,
                         HttpServletRequest request) {

        // 在 uploadPath 文件夹中通过日期对上传的文件归类保存
        // 比如:/2019/06/06/cf13891e-4b95-4000-81eb-b6d70ae44930.png
        String format = sdf.format(new Date());
        File folder = new File(uploadPath + format);
        if (!folder.isDirectory()) {
            folder.mkdirs();
        }

        // 对上传的文件重命名,避免文件重名
        String oldName = uploadFile.getOriginalFilename();
        String newName = UUID.randomUUID().toString()
                + oldName.substring(oldName.lastIndexOf("."), oldName.length());
        try {
            // 文件保存
            uploadFile.transferTo(new File(folder, newName));

            // 返回上传文件的访问路径
            String filePath = request.getScheme() + "://" + request.getServerName()
                    + ":" + request.getServerPort()  + format + newName;
            return filePath;
        } catch (IOException e) {
            throw new CustomException(CustomExceptionType.SYSTEM_ERROR);
        }

    }
}
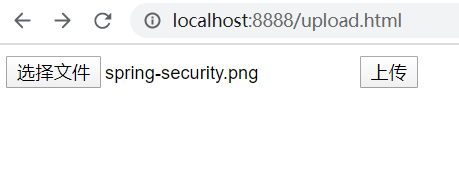
四、写一个模拟的文件上传页面,进行测试
把该upload.html文件放到classpath:public目录下,对外提供访问。
<!DOCTYPE html>
<html lang="en">
<head>
    <meta charset="UTF-8">
    <title>Title</title>
</head>
<body>
<form action="/upload" method="post" enctype="multipart/form-data">
    <input type="file" name="uploadFile" value="请选择上传文件">
    <input type="submit" value="保存">
</form>
</body>
</html>
访问测试、点击“选择文件”,之后保存
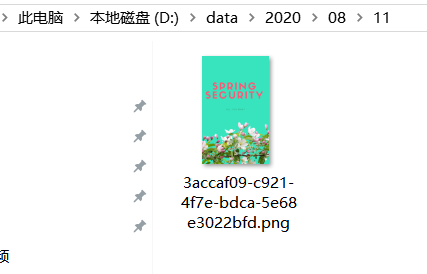
文件被保存到服务端的web.upload-path指定的资源目录下
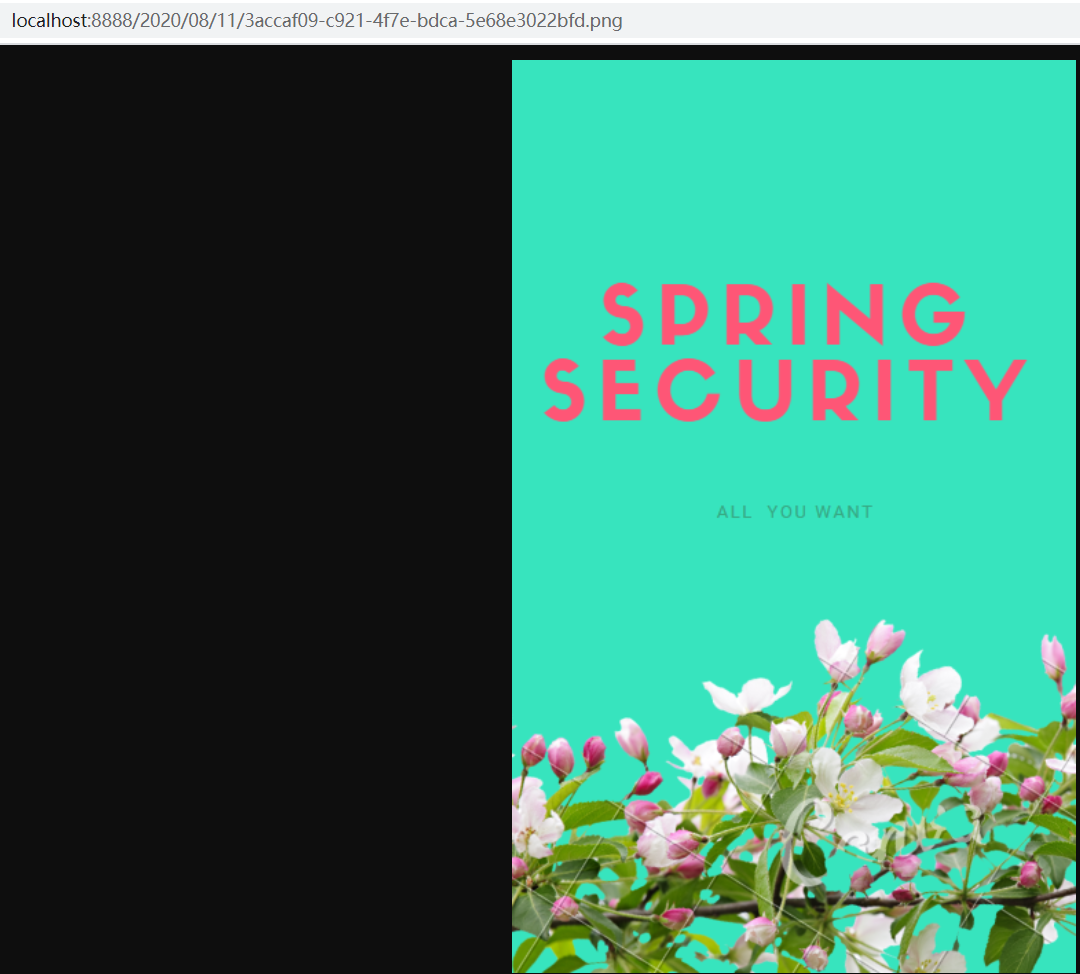
浏览器端响应结果如下,返回一个文件HTTP访问路径:

使用该HTTP访问路径,在浏览器端访问效果如下。证明我们的文件已经成功上传到服务端,以后需要访问该图片就通过这个HTTP URL就可以了。
欢迎关注我的博客,里面有很多精品合集
- 本文转载注明出处(必须带连接,不能只转文字):字母哥博客。
觉得对您有帮助的话,帮我点赞、分享!您的支持是我不竭的创作动力! 。另外,笔者最近一段时间输出了如下的精品内容,期待您的关注。
- 《手摸手教你学Spring Boot2.0》
- 《Spring Security-JWT-OAuth2一本通》
- 《实战前后端分离RBAC权限管理系统》
- 《实战SpringCloud微服务从青铜到王者》
- 《VUE深入浅出系列》
内容来源于网络如有侵权请私信删除
文章来源: 博客园
- 还没有人评论,欢迎说说您的想法!


 客服
客服


