
访问Alexa的API,必须要携带AccessToken,也就是必须要登录授权,本文主要记录Amazon Alexa在Android平台上的登录授权过程。
一、在亚马逊开发者平台注册应用
进入亚马逊开发者平台的Alexa栏
https://developer.amazon.com/edw/home.html#/
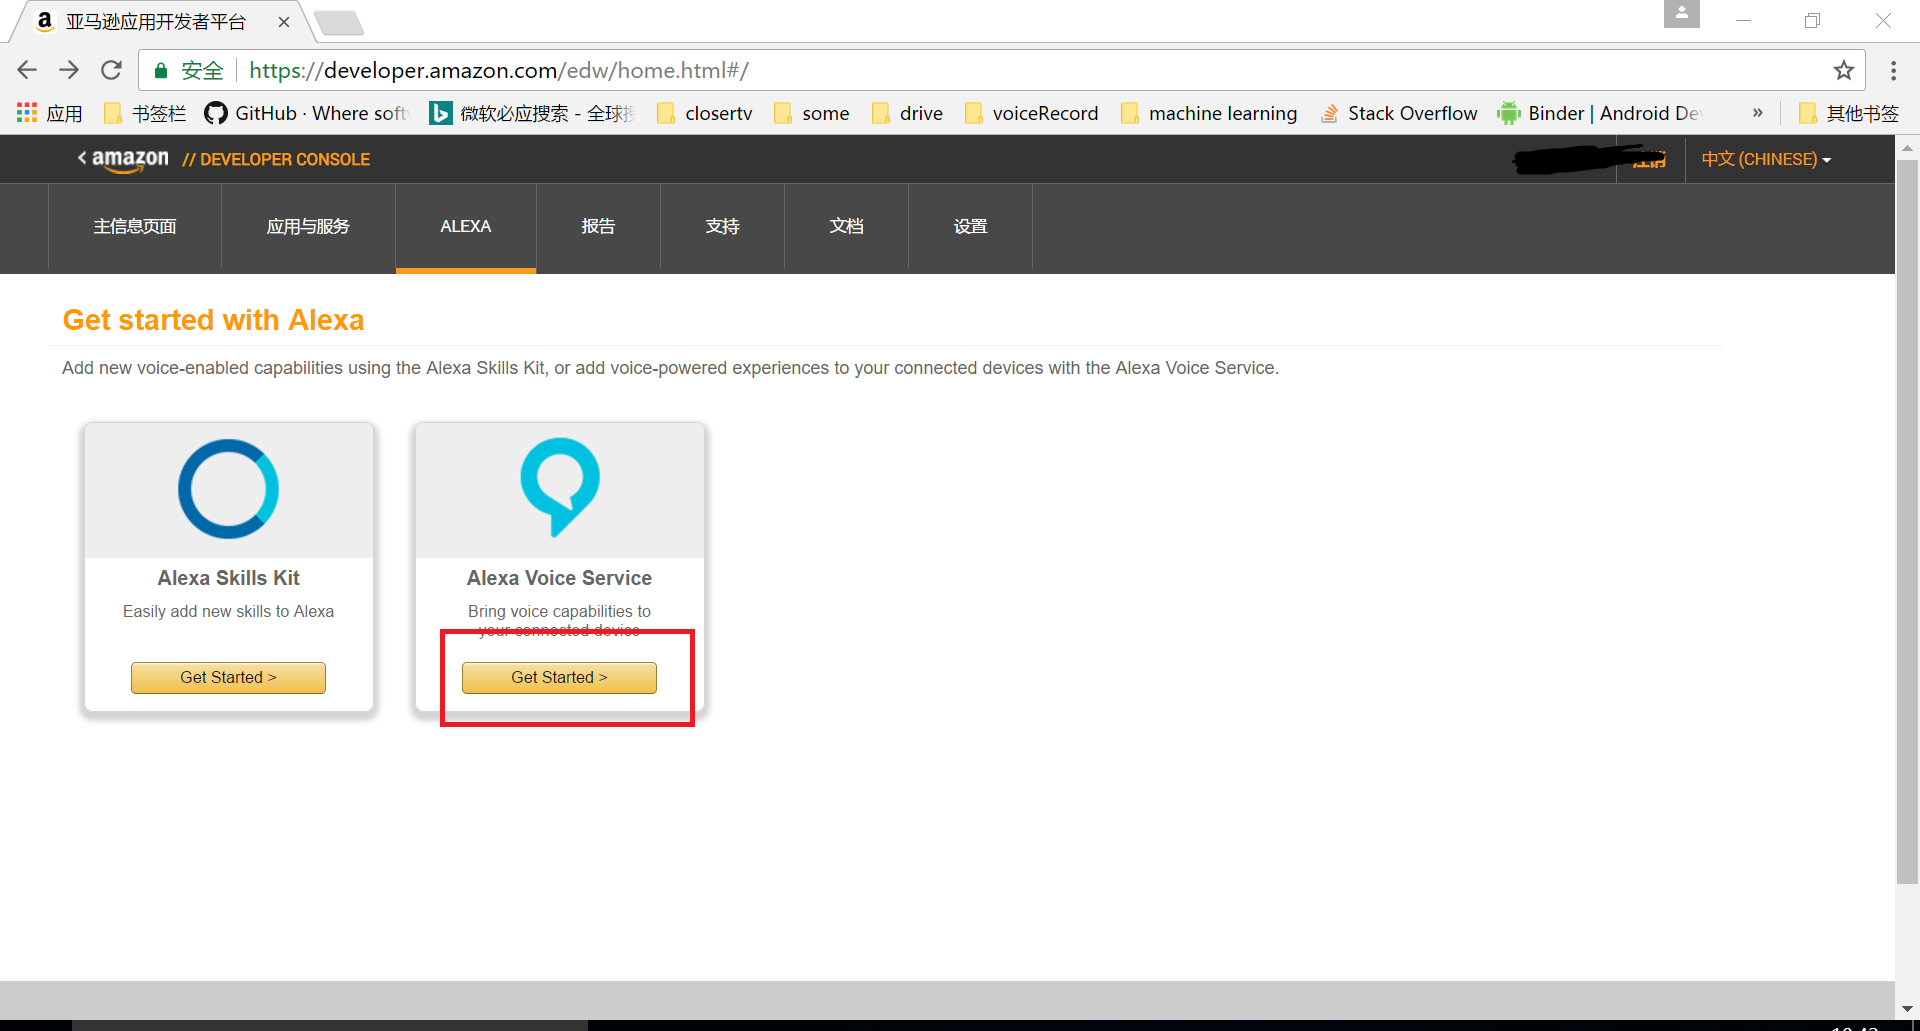
点击Alexa Voice Service的Get Started,进入到应用管理页面

选择注册一个产品,我这边选的是application,然后开始填写相关信息。
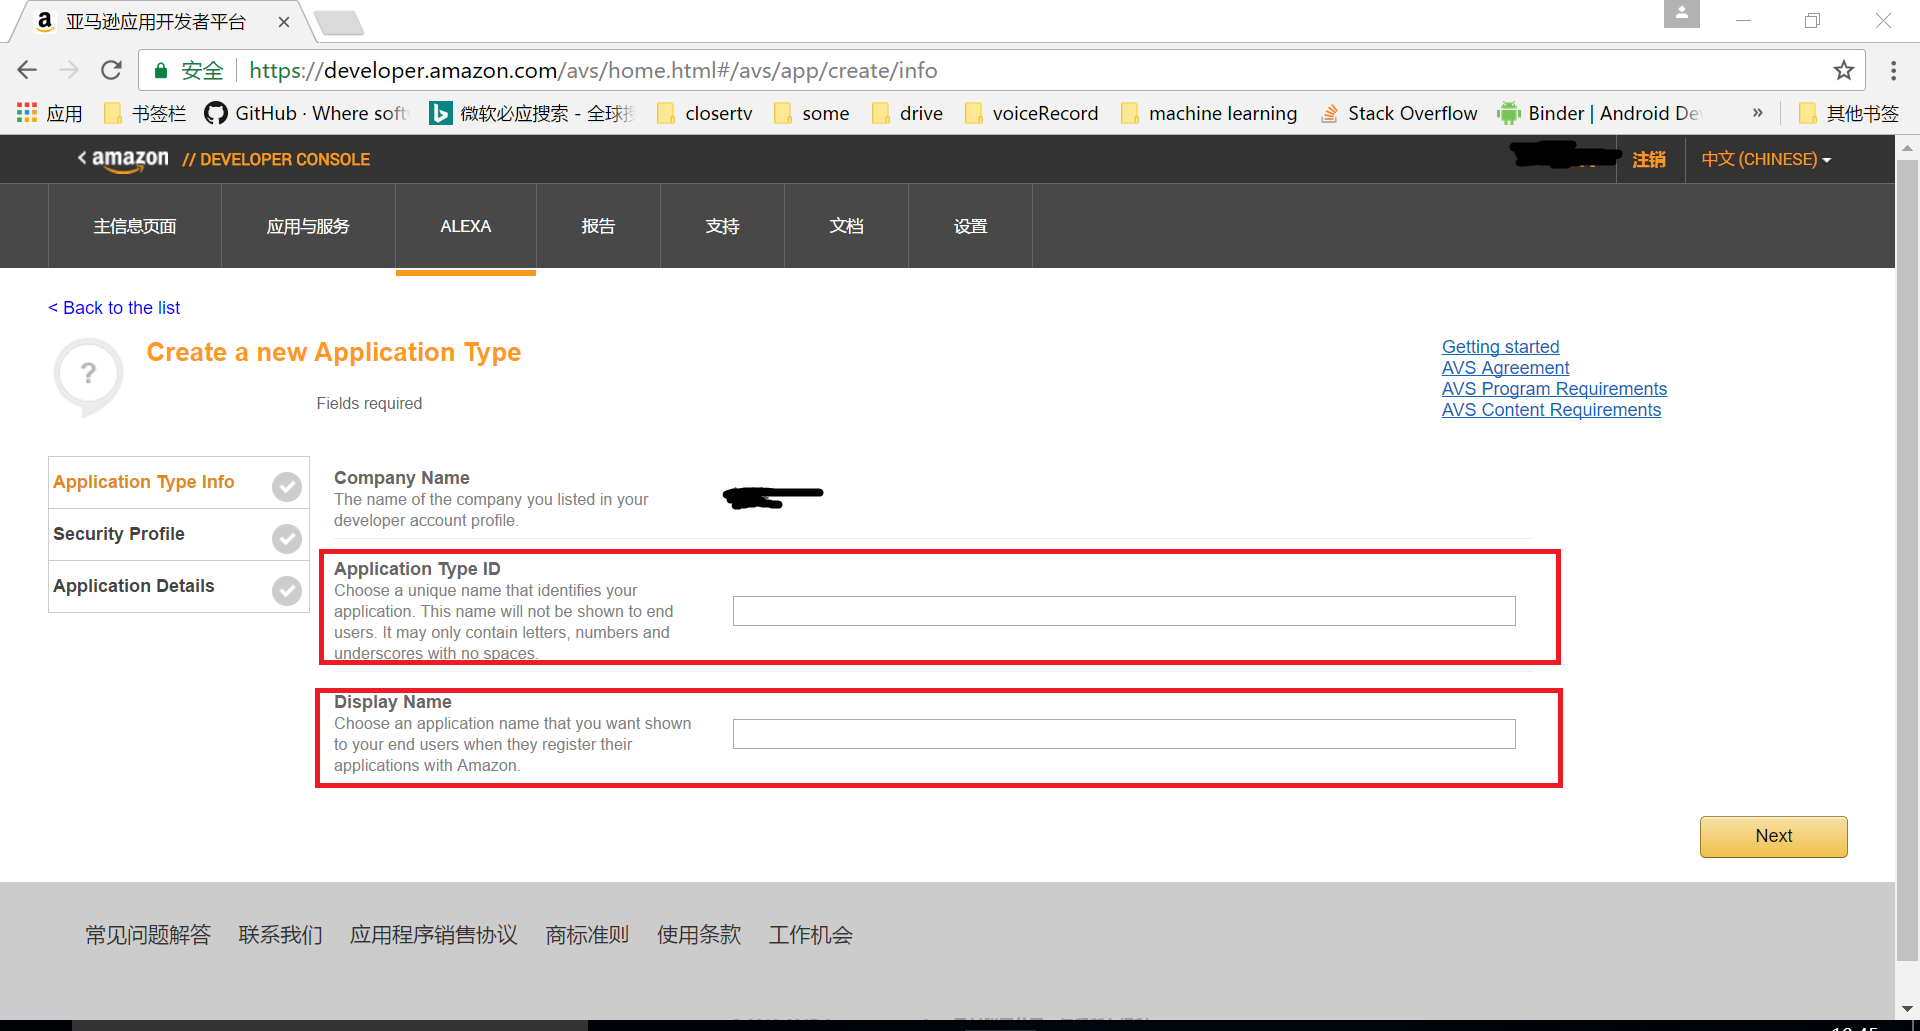
这里Application Type ID必须唯一,并且需要记住这个id,在代码中需要加入这个id,Display Name是授权时用户会看到的名字。填好进入下一步

创建Profile,Profile应该就是登录授权时要校验的信息,这里选择新建一个,填好信息进入next
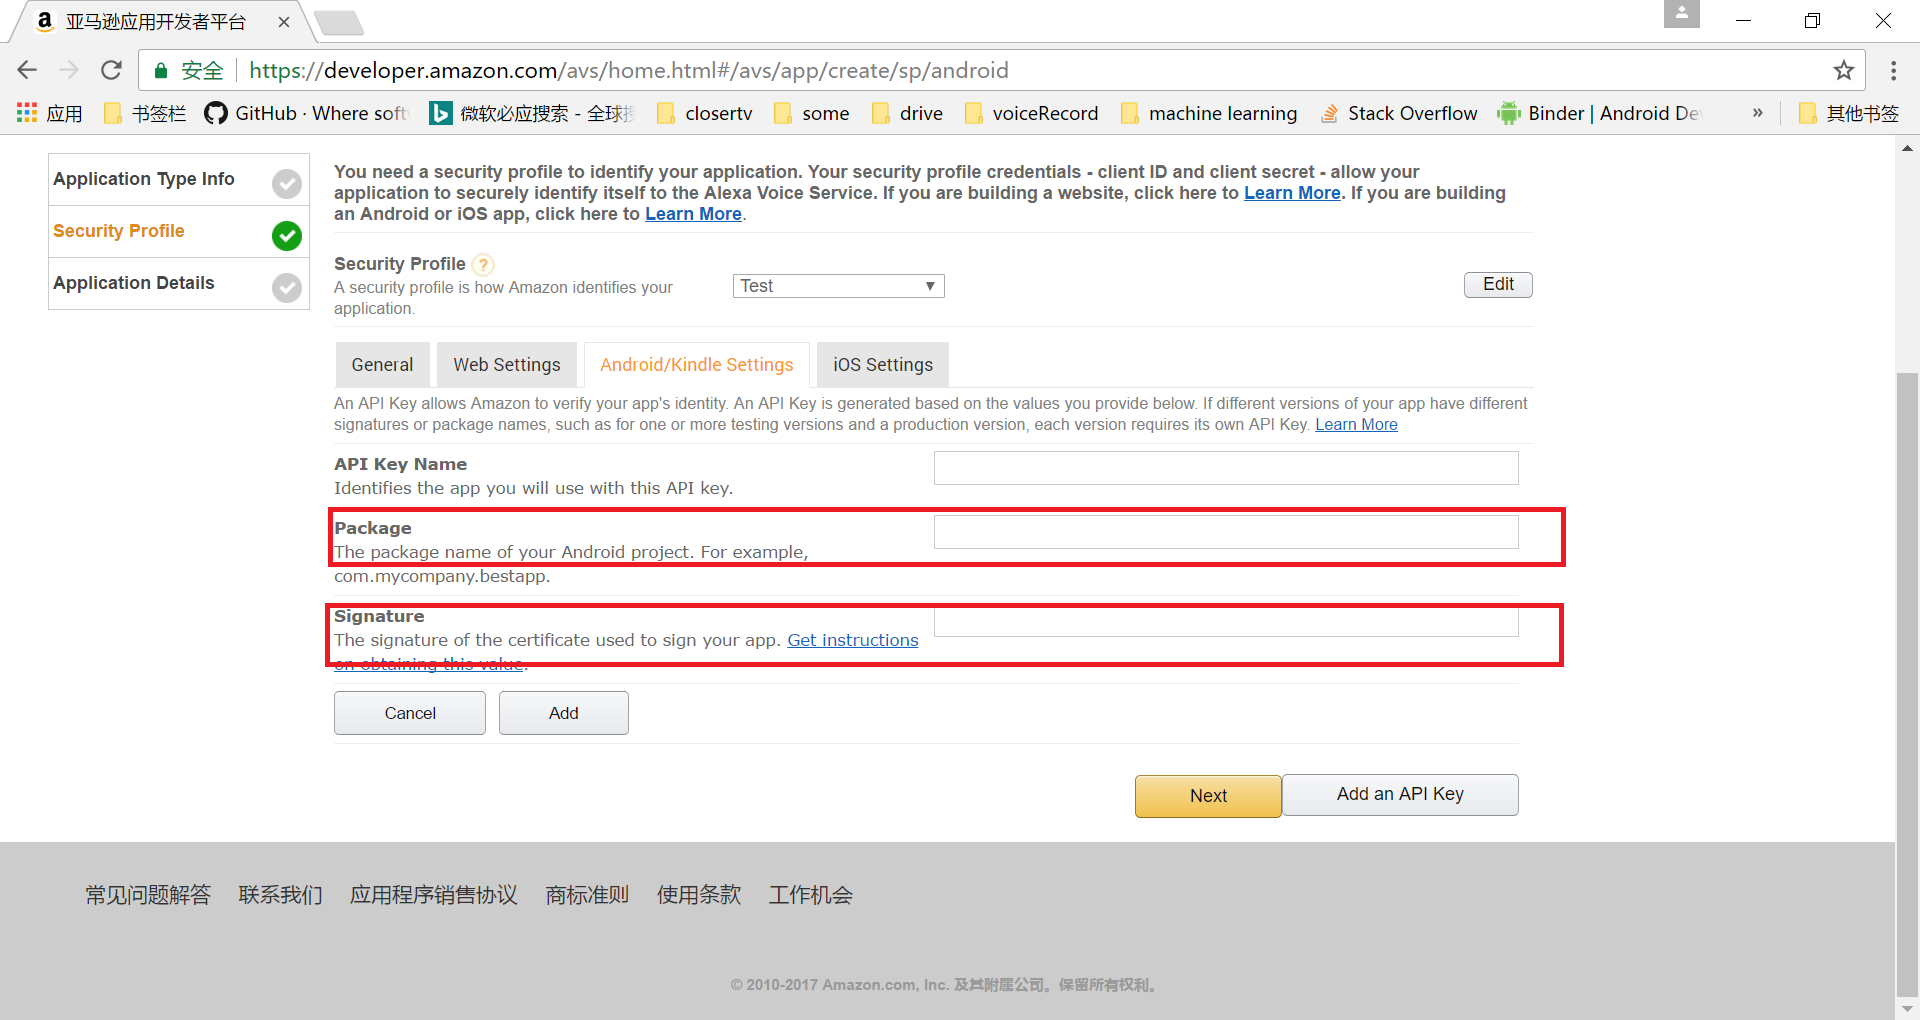
选择Android/Kindle Settings栏,填写相关信息,其中Package和Signature是校验的关键,Package是实际Android工程的包名,Signature是签名的MD5值,debug阶段也是需要有一个debug的签名的。
生成签名:
keytool -genkey -alias xxx -keyalg RSA -validity 20000 -keystore yyy.keystore
xxx : keystore的alias
20000 : keystore的有效天数
yyy.keystore : keystore的名称
查看签名信息:
keytool -list -v -alias <xxx> -keystore <yyy.keystore>
填好后点击add,会生成一个key

这个key很重要,也是需要导入的Android工程中的,具体导入见后文。后面完善好信息项目就创建完成了,接下来就需要在Android工程中添加相关代码了。
二、添加登录授权相关代码到Android工程
1、下载login with Amazon的sdk,下载地址:https://developer.amazon.com/sdk-download,下载后加入到工程中。
2、manifest中增加网络访问权限
<uses-permission android:name="android.permission.INTERNET"/>
<uses-permission android:name="android.permission.ACCESS_NETWORK_STATE"/>
3、manifest中声明WorkflowActivity
<activity android:name="com.amazon.identity.auth.device.workflow.WorkflowActivity" android:theme="@android:style/Theme.NoDisplay"
android:allowtaskreparenting="true" android:launchmode="singleTask">
   <intent-filter>
      <action android:name="android.intent.action.VIEW">
      <category android:name="android.intent.category.DEFAULT">
      <category android:name="android.intent.category.BROWSABLE">
      <!-- android:host must use the full package name found in Manifest General Attributes -->
      <data android:host="${applicationId}" android:scheme="amzn">
   </intent-filter>
</activity>
4、添加Key
在assets目录下新建api_key.txt文件,内容为之前profile中的key
5、增加登录授权相关代码
private RequestContext requestContext;@Override
protected void onCreate(Bundle savedInstanceState) {
super.onCreate(savedInstanceState);
requestContext = RequestContext.create(this);
requestContext.registerListener(new AuthorizeListener() {
/* Authorization was completed successfully. */
@Override
public void onSuccess(AuthorizeResult result) {
/* Your app is now authorized for the requested scopes */
//result.getAccessToken 就是需要的AccessToken }
/* There was an error during the attempt to authorize the
application. */
@Override
public void onError(AuthError ae) {
/* Inform the user of the error */
}
/* Authorization was cancelled before it could be completed. */
@Override
public void onCancel(AuthCancellation cancellation) {
/* Reset the UI to a ready-to-login state */
}
});
View loginButton = findViewById(R.id.login_with_amazon); loginButton.setOnClickListener(new View.OnClickListener() {
@Override
public void onClick(View v) {
final JSONObject scopeData = new JSONObject();
final JSONObject productInstanceAttributes = new JSONObject();
try {
productInstanceAttributes.put("deviceSerialNumber", Settings.Secure.getString(getContentResolver(),
Settings.Secure.ANDROID_ID));
scopeData.put("productInstanceAttributes", productInstanceAttributes);
scopeData.put("productID", PRODUCT_ID);//这里的PRODUCT_ID就是之前申请的Application ID
AuthorizationManager.authorize(new AuthorizeRequest.Builder(requestContext)
.addScope(ScopeFactory.scopeNamed("alexa:all", scopeData))
.forGrantType(AuthorizeRequest.GrantType.ACCESS_TOKEN)
.shouldReturnUserData(false)
.build());
} catch (JSONException e) {
Log.e(TAG,"JSONException = "+e);
}
});}
@Override
protected void onResume() {
    super.onResume();
    requestContext.onResume();
}
@Override
protected void onStart(){ super.onStart();
Scope[] scopes = { ALEXA_ALL_SCOPE };
AuthorizationManager.getToken(this, scopes, new Listener<AuthorizeResult, AuthError>() {

    @Override
    public void onSuccess(AuthorizeResult result) {
        if (result.getAccessToken() != null) {//就是需要的AccessToken
  /* The user is signed in */
 } else {
  /* The user is not signed in */
 } }

@Override
public void onError(AuthError ae) {
/* The user is not signed in */
 } }); }
代码比较简单易懂,具体可以参见
https://developer.amazon.com/public/apis/engage/login-with-amazon/docs/use_sdk_android.html
- 还没有人评论,欢迎说说您的想法!
 客服
客服


